

The best description of soda is “diabetes in a can.” If you want a refreshing and healthy naturally carbonated beverage, try homemade ginger ale. This blog post will tell you how. Here’s what you need:
- Ginger root
- About 8 limes and / or lemons. I used some of each.
- 1 cup sugar (some combination of white and brown). If you’re feeling adventurous, you can add some molasses or maple syrup in moderation.
- Champagne yeast. I used Red Star, available on Amazon.
- Some old glass bottles with caps, or washed beer bottles + a capper (only homebrewers have this)
- About a gallon of water
- A couple of kids to help (optional)
Start by peeling and grating the ginger. You can use a cheese grater and peeler to do it.

Once you’ve got the ginger grated, put it and the sugar in a pan with water and boil for about 5 minutes. After that, let the mix sit for an hour with the lid on. The ginger will steep like tea.
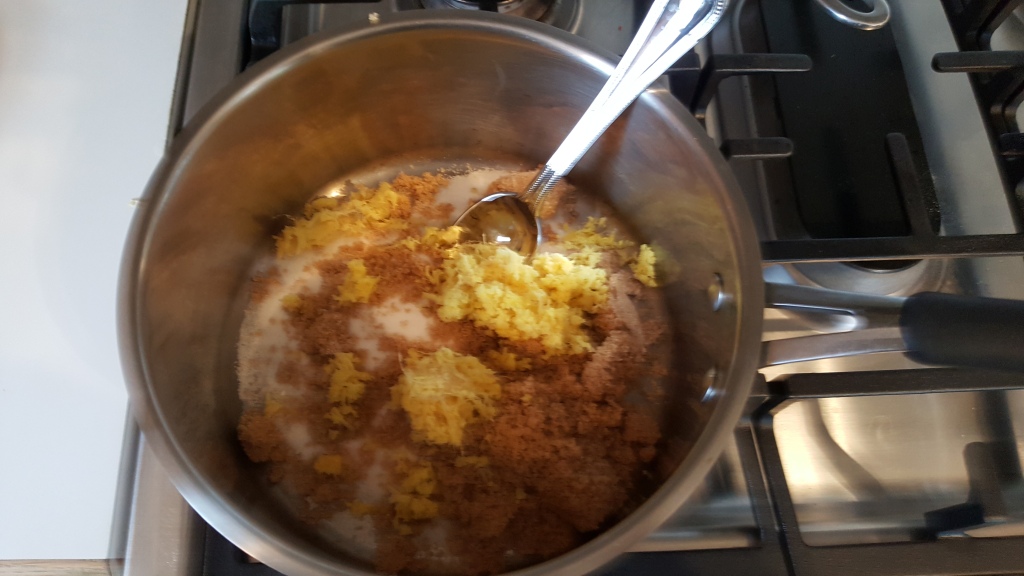
Once the hour is up, it’s time to add the champaigne yeast. Pour it in the mix and stir it up.
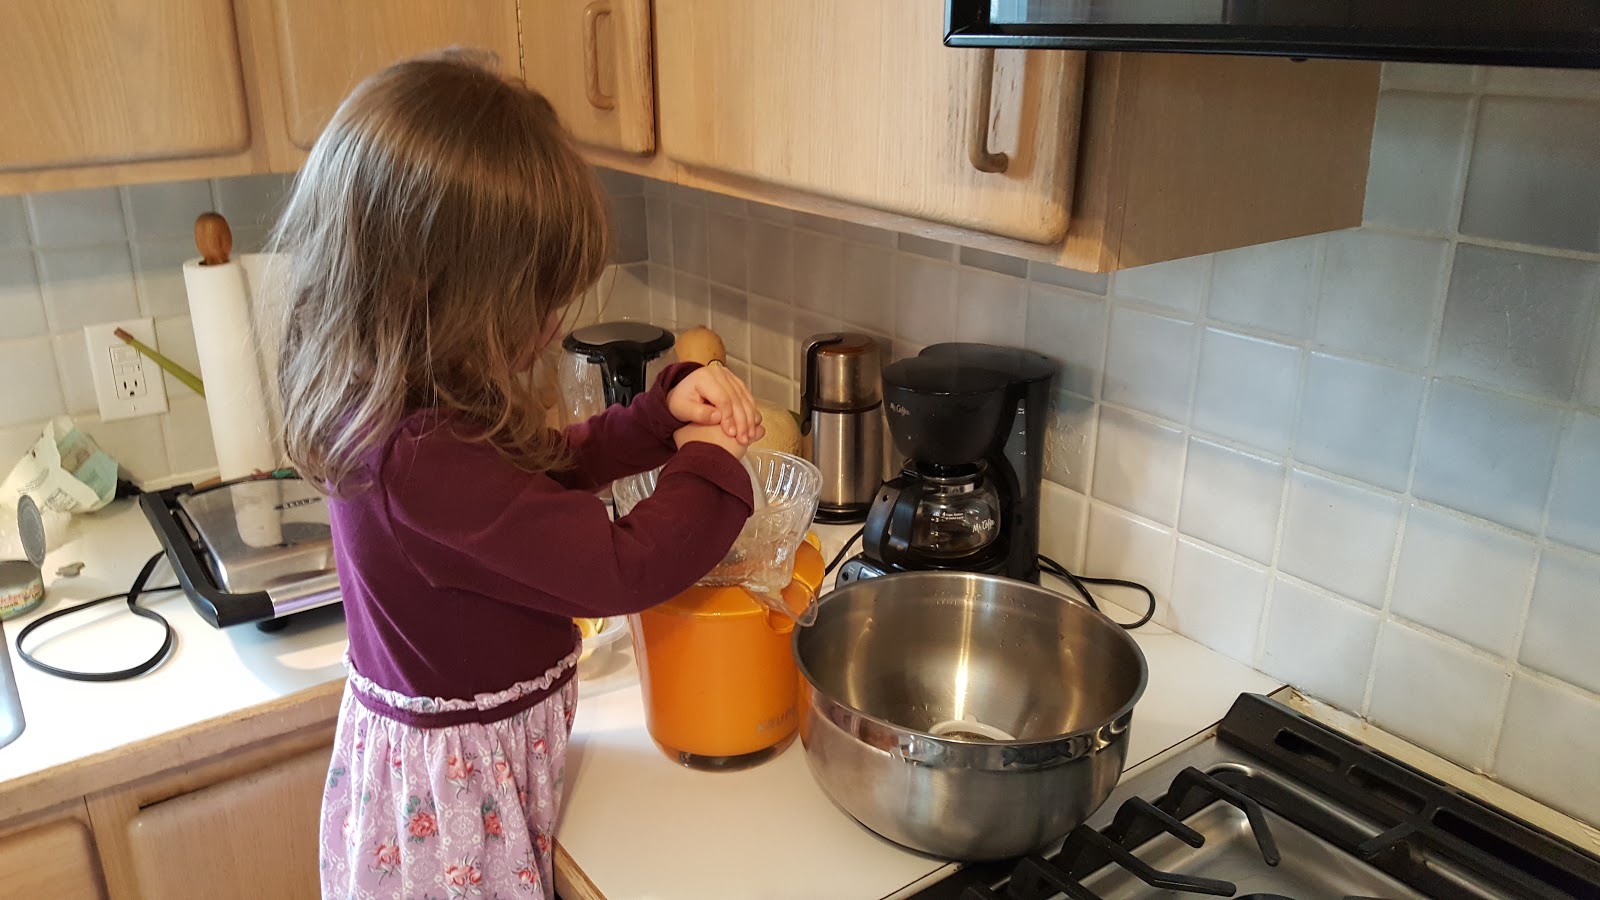
Now, make the juice. Cut each of the lemons and limes in half. If you have a juicer, use it. If not, just squeeze it with your hands. For this step, you can use the optional kid helpers.
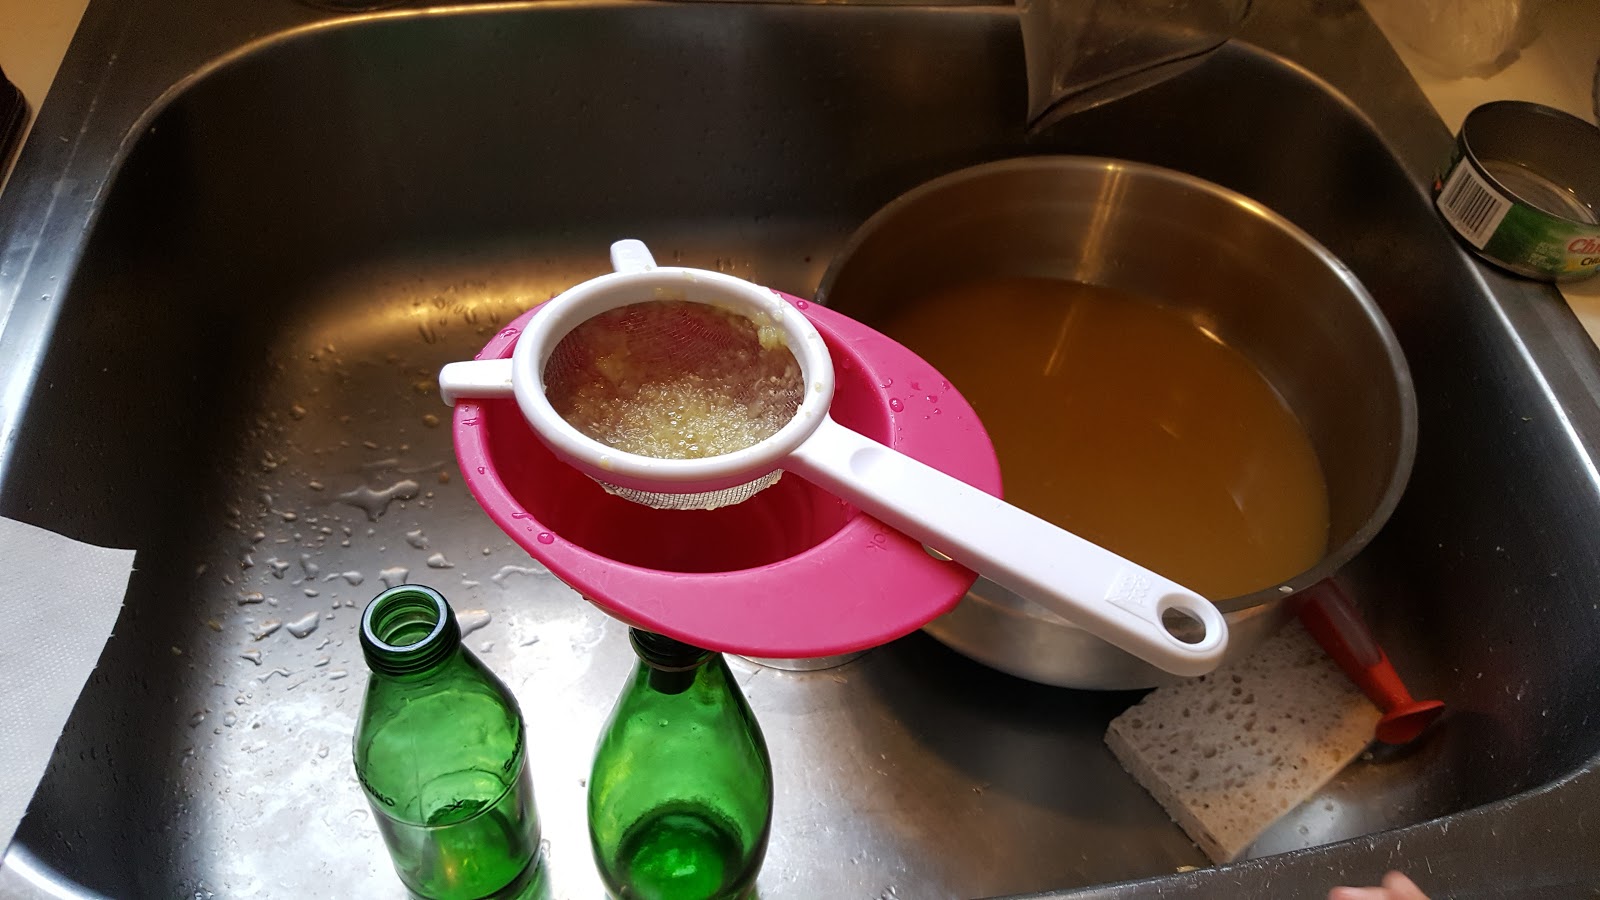
Strain the ginger and lemon / lime juice and put it in a big bowl. Once its well mixed up, pour it into the old glass bottles. I used old Peligrino and Perrier bottles.
Why glass bottles? The mixture (called wort if you’re brewing beer) is going to ferment, and the pressure is going to get pretty high inside the bottles. Make sure they are strong enough to stand up to it. Most will glass bottles will b up to the job. Plastic bottles are more iffy. Plus, you can put the glass bottles in the dishwasher and use them over and over. I’ve been using mine for 5 years.
Now you’re done! Just put the cap on the bottles and store them away from direct sunlight and at room temperature for 2-3 days. The yeast will eat the sugar and you’ll see some bubbles in the liquid.

After 2-3 days, the fermentation has gone as far as you need it to. Put all of the bottles in the refrigerator and leave them for at least 3 days. That will stop the fermentation and the carbon dioxide will dissolve into the ginger ale. When you open the bottles use some caution – if you open them too quickly, they will spray sticky ginger ale everywhere. Open it a little bit and let the gas out, closing as necessary to prevent a mess. You may notice some sediment at the bottom, but don’t worry about it. The process of opening the bottle will mix up the ginger ale inside.
Serve your ginger ale over ice in a glass. If you want, mix in a little rum for a dark and stormy. If not, just sip it. It’s great on any day, hot or cold. This ginger ale is very high in vitamin C and antioxidants, and because of the yeast, it’s a probiotic. Because of the ginger, it’s also an anti-inflammatory. This is a whole lot healthier than Coca-Cola!
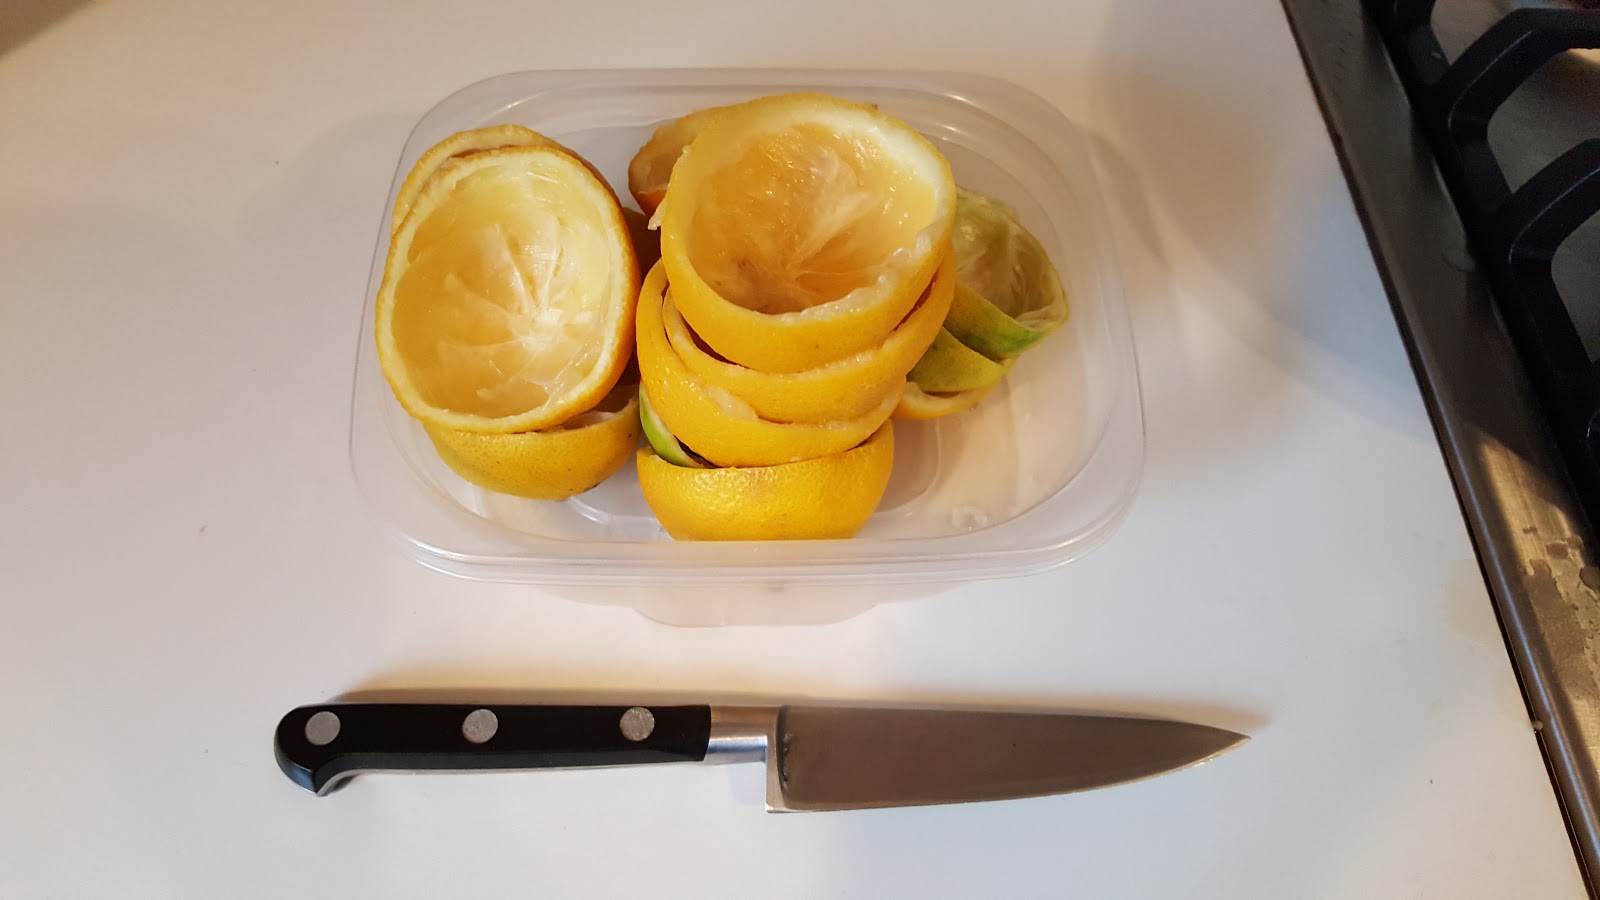
There you have it – reuse the bottles and you’ve got yourself a beverage with no trash and very little recycling. Just some of these to put in the compost.
Ginger ale is one of the easiest things you can home brew- the whole process takes about two hours including the one hour you spent doing something else while the ginger mixture was steeping. I used to home-brew beer before that cute little girl using the juicer was born, but that takes about 9 hours total to produce 5 gallons, including the set up, spartge, latter turn, boil, ice bath, clean up, primary fermentation, racking (secondary fermentation), bottling with priming sugars, and finally refrigeration. Some of the beers I made were delicious, some were terrible, but it was always fun. As a busy parent though, a spare 9 hours are hard to come by. In fact, it’s impossible to come by. Those dark and stormy’s are pretty good though.

0 comments on “Homemade Ginger Ale”